What Makes Fiberglass Different From Other Materials
When something made of fiberglass gets cracked, gouged, or broken, the temptation is to slap on some filler and call it done. But fiberglass repair is a process that requires understanding the material itself — and skipping steps leads to failures that cost far more to fix later. Fiberglass is a composite material made from woven glass fibers embedded in a resin matrix. That structure gives it strength and flexibility, but it also means damage can spread beneath the surface in ways that aren’t immediately visible.
Unlike metal, which dents but stays contained, or wood, which cracks along grain lines, fiberglass can delaminate — meaning the layers separate from each other. A small surface crack might actually signal deeper structural damage underneath. That’s why a proper assessment before any repair work begins is essential.
Common Types of Fiberglass Damage and What Causes Them
Fiberglass shows up in a surprising range of applications — boat hulls, vehicle body panels, bathtubs and shower surrounds, hot tubs, pool shells, RV exteriors, and even some roofing systems. Each environment creates its own type of wear.
- **Stress cracks (crazing):** Fine, spider-web cracks in the gel coat layer, usually caused by impact or flexing over time. These are often cosmetic but can let moisture in.
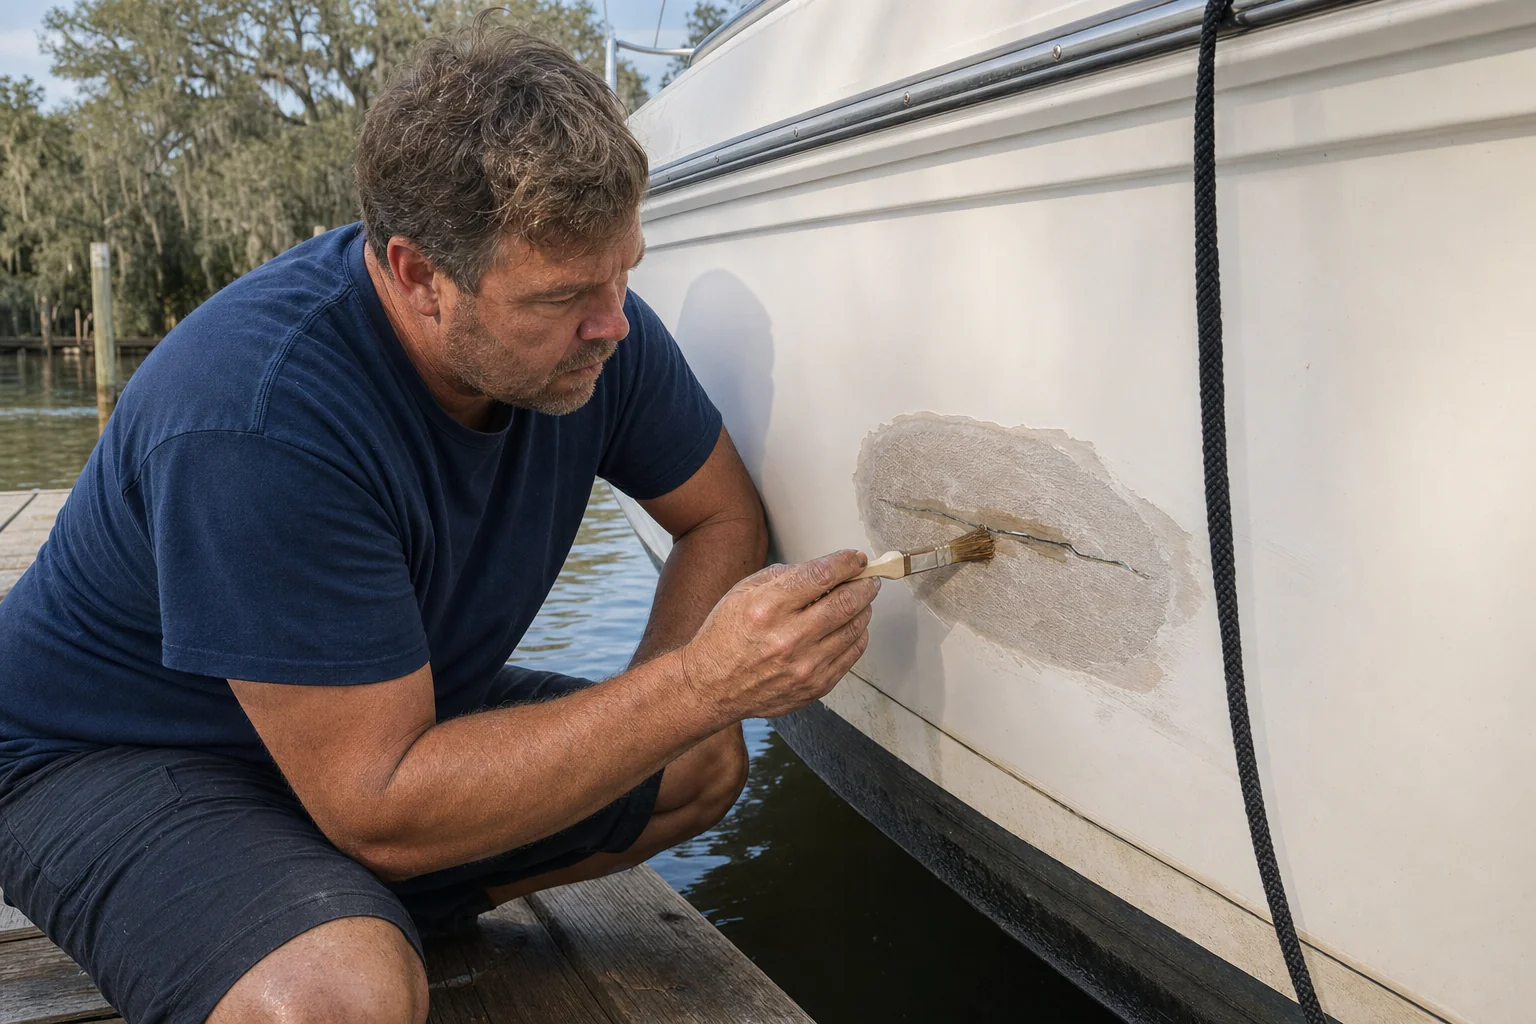
- **Gouges and chips:** Physical impact damage that removes material. Common on boat hulls from dock contact or debris.
- **Delamination:** Separation between fiberglass layers, often from water intrusion that freezes and expands, or from prolonged UV exposure.
- **Osmotic blistering:** Mostly seen on boat hulls below the waterline. Water molecules migrate through the gel coat and react with chemicals in the laminate, forming blisters.
Identifying the type of damage correctly determines which repair method is appropriate. A cosmetic gel coat touch-up won’t fix delamination, and grinding and re-laminating is overkill for a surface chip.
The Repair Process Step by Step
A quality fiberglass repair follows a consistent process regardless of the specific application:
**1. Damage assessment.** The technician inspects the area visually and by feel, sometimes using a tap test — tapping the surface with a coin or knuckle to listen for hollow sounds that indicate delamination.
**2. Grinding and preparation.** Damaged material is ground back to solid, sound fiberglass. This step is non-negotiable. Applying new material over compromised fiberglass guarantees the repair will fail.
**3. Laminating new fiberglass.** For structural repairs, layers of fiberglass cloth or mat are saturated with resin and applied to rebuild the area. The number of layers depends on the original thickness and the load the area needs to bear.
**4. Fairing.** Once the laminate cures, the surface is shaped and faired — filled and sanded — to match the surrounding contour. This is where the skill of the technician becomes obvious.
**5. Gel coat or paint application.** The final layer restores color and protects the repair from UV and moisture. Color matching is one of the trickier aspects, especially on older pieces where the original color has faded.
Why DIY Repairs Often Fall Short
Hardware stores sell fiberglass repair kits, and for very minor cosmetic issues, they can work. But most DIY attempts run into the same problems:
- **Inadequate surface preparation.** Skipping or rushing the grinding stage means the new material doesn’t bond properly.
- **Wrong resin type.** Polyester, vinylester, and epoxy resins each have different properties and appropriate uses. Using the wrong one compromises the repair.
- **Poor color matching.** Gel coat color matching requires experience and often multiple test batches.
- **Missing underlying damage.** Without knowing what to look for, it’s easy to repair the surface while leaving structural problems intact.
A repair that looks fine initially but fails six months later — especially on something like a boat hull or a pool shell — can result in damage far more expensive than the original problem.
When to Call a Professional for Fiberglass Work
Not every scratch needs a professional, but certain situations clearly do:
- Any damage that goes through the gel coat into the laminate
- Visible delamination or soft spots
- Blistering on a boat hull
- Cracks near high-stress areas like transom corners, stringer connections, or mounting points
- Repairs where watertight integrity matters
A local fiberglass repair specialist has the materials, tools, and experience to assess damage accurately and restore the structural integrity of the piece — not just the appearance. Getting a professional evaluation upfront is almost always cheaper than repairing a failed DIY attempt later.
If you’re dealing with damaged fiberglass and aren’t sure of the extent of the problem, the safest first step is having someone qualified take a look before the damage has a chance to spread.